How to Get Rid of Mould on Bathroom Ceiling

Mould thrives in areas with high humidity, making the bathroom one of the most vulnerable spaces in your home. The constant exposure to steam from long, hot showers and inadequate ventilation provides an ideal environment for mould to grow, particularly on the ceiling.
Over time, mould can rapidly spread, forming unpleasant and noticeable black spots that not only look unattractive but also pose significant health and structural concerns. It’s important to understand that mould is more than just a cosmetic nuisance—it can lead to serious health issues such as allergies, asthma, and other respiratory conditions. If left untreated, it may also weaken building materials and cause lasting damage.
This comprehensive guide will walk you through effective methods to get rid of mould on your bathroom ceiling and, just as crucially, offer preventative steps to ensure it doesn’t return.
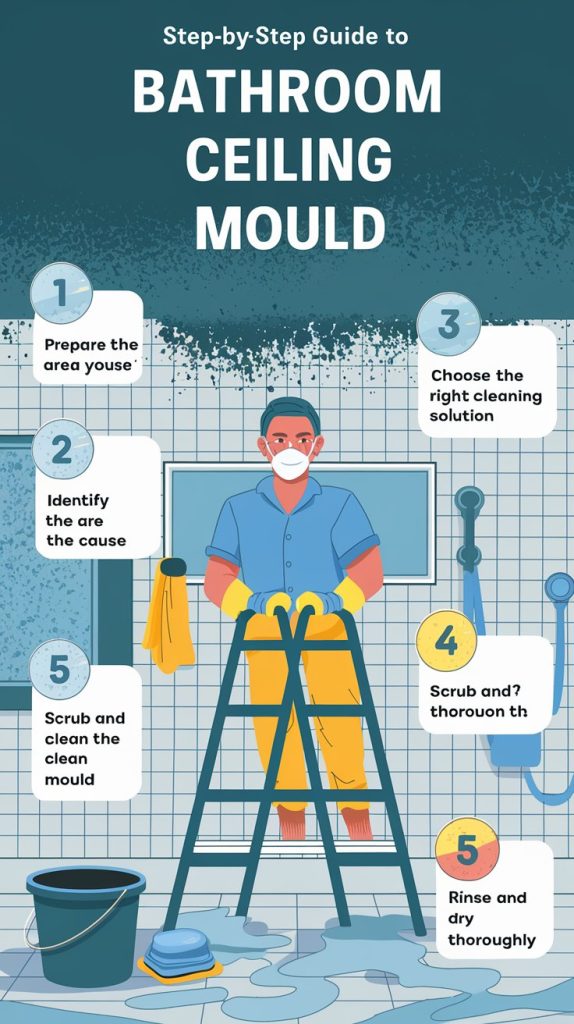
Step-by-Step Guide to Removing Bathroom Ceiling Mould
| Step | Action | Tools Needed | Time Estimate |
|---|---|---|---|
| 1. Prepare the Area | Cover the floor and fixtures, wear protective gear. | Gloves, goggles, mask, plastic sheets | 10 minutes |
| 2. Identify the Cause | Investigate any leaks or ventilation issues causing moisture. | Exhaust fan, dehumidifier | Ongoing |
| 3. Choose a Cleaning Solution | Vinegar-water solution or bleach solution based on mould severity. | Vinegar, bleach, spray bottle, sponge | 15-20 minutes |
| 4. Scrub the Mould | Gently scrub mould with a brush, avoid damaging the ceiling. | Soft-bristled brush, cloth | 10 minutes |
| 5. Rinse and Dry | Wipe down the ceiling, ensure it is thoroughly dry to prevent mould return. | Clean cloth, fan, dehumidifier | 20 minutes |
1. Prepare the Area and Yourself
Before diving into the cleaning process, it’s essential to properly prepare both the bathroom and yourself to ensure safety and avoid spreading the mould further. Start by covering the bathroom floor and any fixtures—like sinks, tubs, and toilets—with plastic sheets or old towels. This protective layer helps catch any falling debris, drips from cleaning solutions, or mould spores, keeping your bathroom clean and minimizing cleanup afterward.
Equally important is personal protection. Always wear safety gear such as rubber gloves, protective goggles, and a high-quality mask to shield yourself from inhaling mould spores or coming into direct contact with cleaning agents. Good ventilation is also crucial. Be sure to open windows and switch on any exhaust fans to allow fresh air in and harmful fumes out. This step is not optional—it’s a must for your health and effective mould removal.
2. Identify the Underlying Cause
Successfully removing mould is only half the battle. To ensure it doesn’t return, you need to identify and address the root cause behind the moisture buildup. Mould will continue to thrive unless the underlying problem is resolved. Common culprits include a leaking roof, faulty plumbing, poor air circulation, or high humidity levels in the bathroom.
Inspect your bathroom carefully for any leaks—this could be in the ceiling, walls, or plumbing fixtures. If needed, repair any damaged pipes or roofing immediately. Additionally, invest in a good-quality exhaust fan to improve airflow or consider using a dehumidifier to control moisture levels. Tackling these causes head-on is essential to achieving lasting results in your fight against bathroom ceiling mould.
3. Choose the Right Cleaning Solution
| Solution | Effectiveness | Best For | Cautions |
|---|---|---|---|
| Vinegar and Water | High for mild mould | Regular cleaning and maintenance | May require longer soaking time |
| Bleach Solution | High for stubborn mould | Large or persistent mould areas | Use in well-ventilated areas, can damage surfaces |
| Commercial Removers | Varies by product | Heavy-duty mould cases | Follow product instructions closely |
The effectiveness of your mould removal largely depends on selecting a cleaning agent that matches the severity of the infestation. Different levels of mould growth require different treatment methods, and using the right one ensures more efficient and lasting results.
- Vinegar and Water: For light mould buildup, a simple yet effective natural remedy is a solution made of equal parts white vinegar and water. Pour the mixture into a spray bottle and apply it generously to the affected ceiling area. Allow it to sit for 15 to 20 minutes so it can break down the mould. Then, wipe the surface with a clean, damp cloth to remove any residue.
- Bleach Solution: If you’re dealing with more persistent or widespread mould patches, a stronger approach is needed. Mix one part bleach with three parts water and apply this solution directly onto the mould. Let it soak for 10 to 15 minutes, which will help kill the mould spores, and then scrub gently with a soft-bristled brush.
- Commercial Mould Removers: For severe infestations where natural remedies and bleach are not enough, consider using a commercial mould remover. These specialized cleaners are formulated to tackle stubborn mould. However, always follow the manufacturer’s instructions carefully and ensure proper ventilation when using these products, as they may contain strong chemicals.
4. Scrub and Clean the Mould
Once your chosen cleaning agent has had time to work, it’s time to scrub away the mould. Use a soft sponge or brush to gently remove the mould from the surface. For tight or hard-to-reach corners, an old toothbrush can be very effective.
It’s crucial not to scrub too aggressively, as doing so may damage the ceiling material and potentially create more surface issues.
5. Rinse and Dry Thoroughly
After scrubbing the mould, use a clean, damp cloth to thoroughly wipe down the area. This helps to remove not only the cleaning solution but also any remaining mould particles. The final and most crucial step is ensuring the area is completely dry.
Moisture left behind can trigger a new mould outbreak, so use a fan or a dehumidifier to accelerate the drying process. Ensuring the surface is moisture-free is essential for long-term prevention.
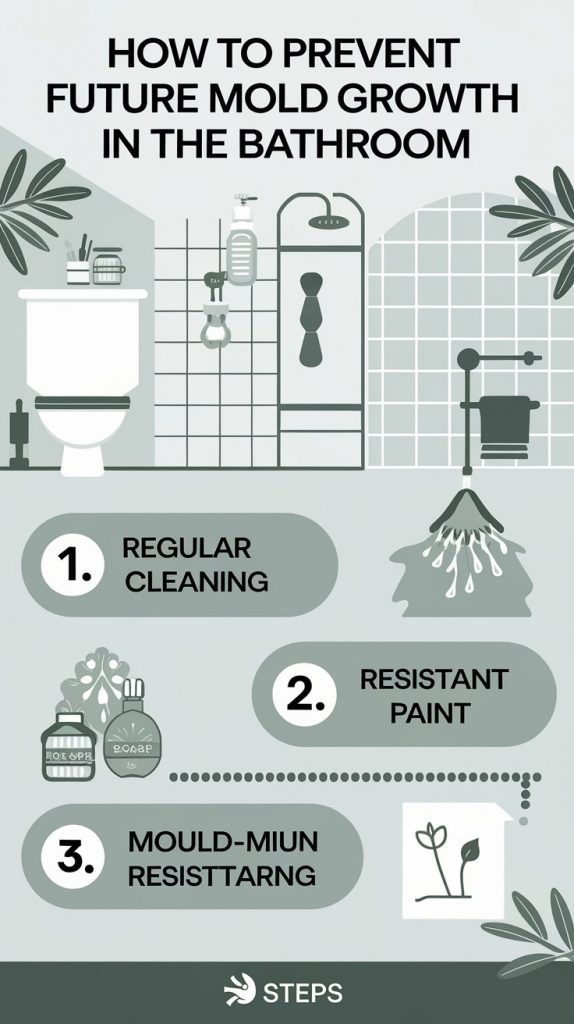
Preventing Future Mould Growth
| Method | Description | Tools Needed |
|---|---|---|
| Ventilation | Install or use exhaust fans and dehumidifiers to reduce moisture | Exhaust fan, dehumidifier |
| Regular Cleaning | Wipe down ceilings and walls regularly to prevent moisture buildup | Microfiber cloth |
| Mould-Resistant Paint | Apply mould-resistant primer and paint on ceilings | Mould-resistant paint, primer |
| Essential Oils | Use natural oils like tea tree or eucalyptus to inhibit mould growth | Tea tree oil, eucalyptus oil |
When it comes to mould, prevention is always better than cure. Once you’ve removed mould from your bathroom ceiling, taking proactive steps to stop it from returning is essential. Here are several reliable methods that can help you maintain a mould-free bathroom environment.
Ventilation
Proper ventilation is the most critical factor in preventing mould from reappearing. Bathrooms naturally build up a lot of steam and humidity, especially during and after hot showers. Make it a habit to run an exhaust fan during every shower and keep it on for several minutes afterward.
If you don’t have an exhaust fan, at the very least, open a window to let the moisture escape. This steady airflow helps dry the room quickly and prevents moisture from settling on ceilings and walls—key contributors to mould development. Aim to clean your bathroom at least once a week, as even minimal buildup of moisture or grime can encourage mould growth over time.
Regular Cleaning
Consistent cleaning is another effective way to prevent mould from taking hold again. After each shower, consider wiping down wet surfaces, especially the ceiling and tiled walls. High humidity levels can cause condensation to settle on these surfaces, and regular cleaning stops it from turning into mould.
Make it a routine to clean the bathroom thoroughly, not just occasionally but frequently—ideally, several times a month. Use cleaning products specifically designed to target and kill mould to ensure any spores that might be lingering are neutralized.
Mould-Resistant Paint
If you’re planning to repaint your bathroom ceiling, use this opportunity to apply mould-resistant products. Start with a mould-resistant primer, which helps seal the surface and make it less hospitable to mould spores. Follow this up with a high-quality mould-resistant ceiling paint.
This type of paint contains antimicrobial properties that prevent future growth, even in damp and humid conditions. Not only does this improve your bathroom’s appearance, but it also adds a durable layer of protection against future infestations.
Essential Oils
Natural remedies like essential oils can also be used to keep mould at bay. Tea tree oil and eucalyptus oil are both known for their strong antifungal and antimicrobial properties. Add a few drops of either oil to a spray bottle filled with water and mist it around your bathroom ceiling and walls.
These oils help to create an environment where mould cannot thrive. Regular use of such natural sprays can offer an eco-friendly and aromatic defence against mould growth while avoiding harsh chemicals.
Conclusion
Dealing with mould on your bathroom ceiling is not just a one-time fix—it requires the right method from the start and an ongoing commitment to prevention. If you don’t address the issue correctly the first time, mould can keep returning, turning into a persistent and frustrating problem.
By preparing the space properly, using effective mould-removal techniques, and applying preventative strategies like improved ventilation and mould-resistant paint, you’ll not only restore cleanliness to the affected area but also significantly reduce the chances of future growth.
Remember, the key to stopping mould permanently lies in eliminating the root causes—namely, excess moisture and poor ventilation. If mould has taken over a large portion of your bathroom or continues to come back despite your best efforts, it may be time to seek help from a professional mould remediation service. A trained expert can assess the extent of the damage and provide a long-term solution to protect your home.
FAQs
1. How often should I clean my bathroom ceiling to prevent mould?
To effectively prevent mould buildup on your bathroom ceiling, aim to clean it thoroughly every couple of months. However, the more critical habit is wiping down wet or damp areas immediately after showers. Quick action helps stop moisture from lingering long enough to promote mould growth. Combining regular deep cleaning with post-shower maintenance is the best approach to keeping your bathroom mould-free.
2. Can vinegar alone remove all types of mould?
Vinegar is an effective natural solution for treating light mould infestations, especially on small surfaces. It can kill many types of surface-level mould due to its acidic properties. However, when dealing with more severe or stubborn mould growth, especially in larger areas or porous surfaces, vinegar alone may not be sufficient.
In such cases, it’s recommended to use a stronger bleach-based solution or a specialized commercial mould remover for better results. These products penetrate deeper and are specifically designed to tackle hard-to-remove mould strains.
3. Should I repaint my ceiling after removing mould?
Absolutely. Repainting your bathroom ceiling after cleaning off the mould is a smart and practical step—just make sure to do it correctly. Start by applying a mould-resistant primer, which creates a barrier that discourages mould from returning.
Follow this up with mould-resistant paint, which is specially formulated to withstand humid environments like bathrooms. Not only does this refresh the look of your ceiling, but it also adds long-term protection against future mould problems.
4. Is it safe to use bleach to remove mould?
Yes, using bleach to remove mould is generally safe and effective, but only if proper precautions are taken. Bleach is a powerful disinfectant that can kill mould spores on non-porous surfaces.
However, it should always be used in a well-ventilated area to avoid inhaling harmful fumes. Also, be sure to wear gloves, goggles, and a mask while applying bleach. Never mix bleach with other cleaning chemicals, especially ammonia, as it can create toxic gases.
5. What should I do if the mould keeps returning?
If mould keeps reappearing despite your cleaning efforts, it’s a clear sign that an underlying moisture issue is still present. Persistent mould is often caused by problems such as poor ventilation, hidden plumbing leaks, or high humidity levels.
In such cases, it’s best to consult a professional mould remediation specialist. They can identify and fix the root cause, ensuring the problem is addressed fully and doesn’t continue to affect your bathroom environment.


